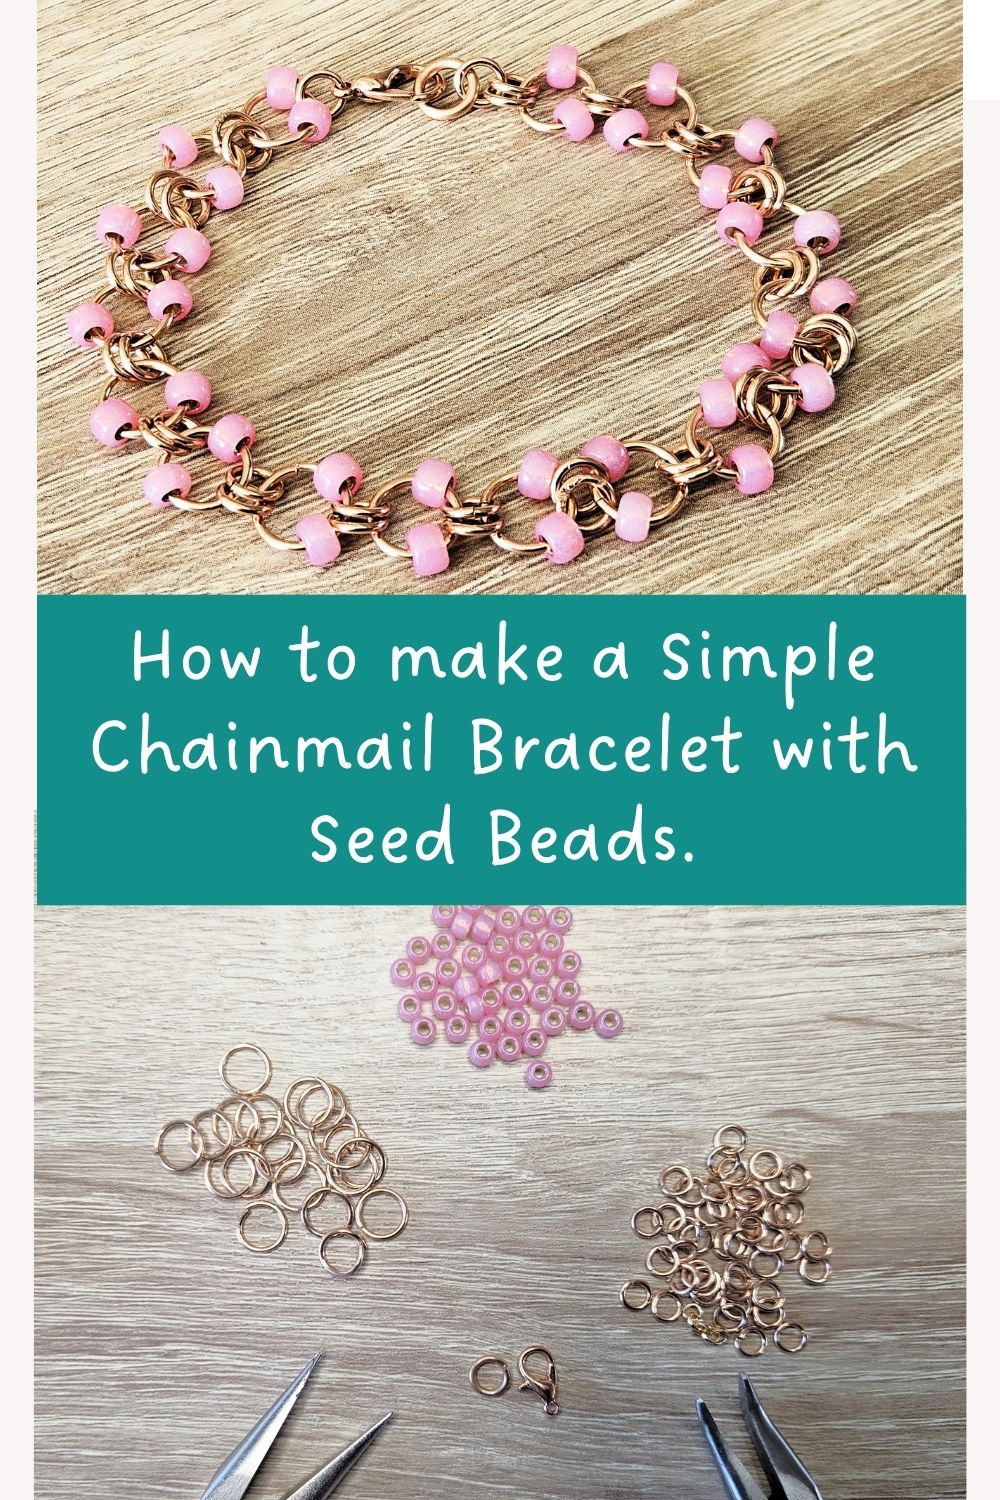
How to Make a Simple Chainmail Bracelet with Seed Beads
Hello crafty peeps!
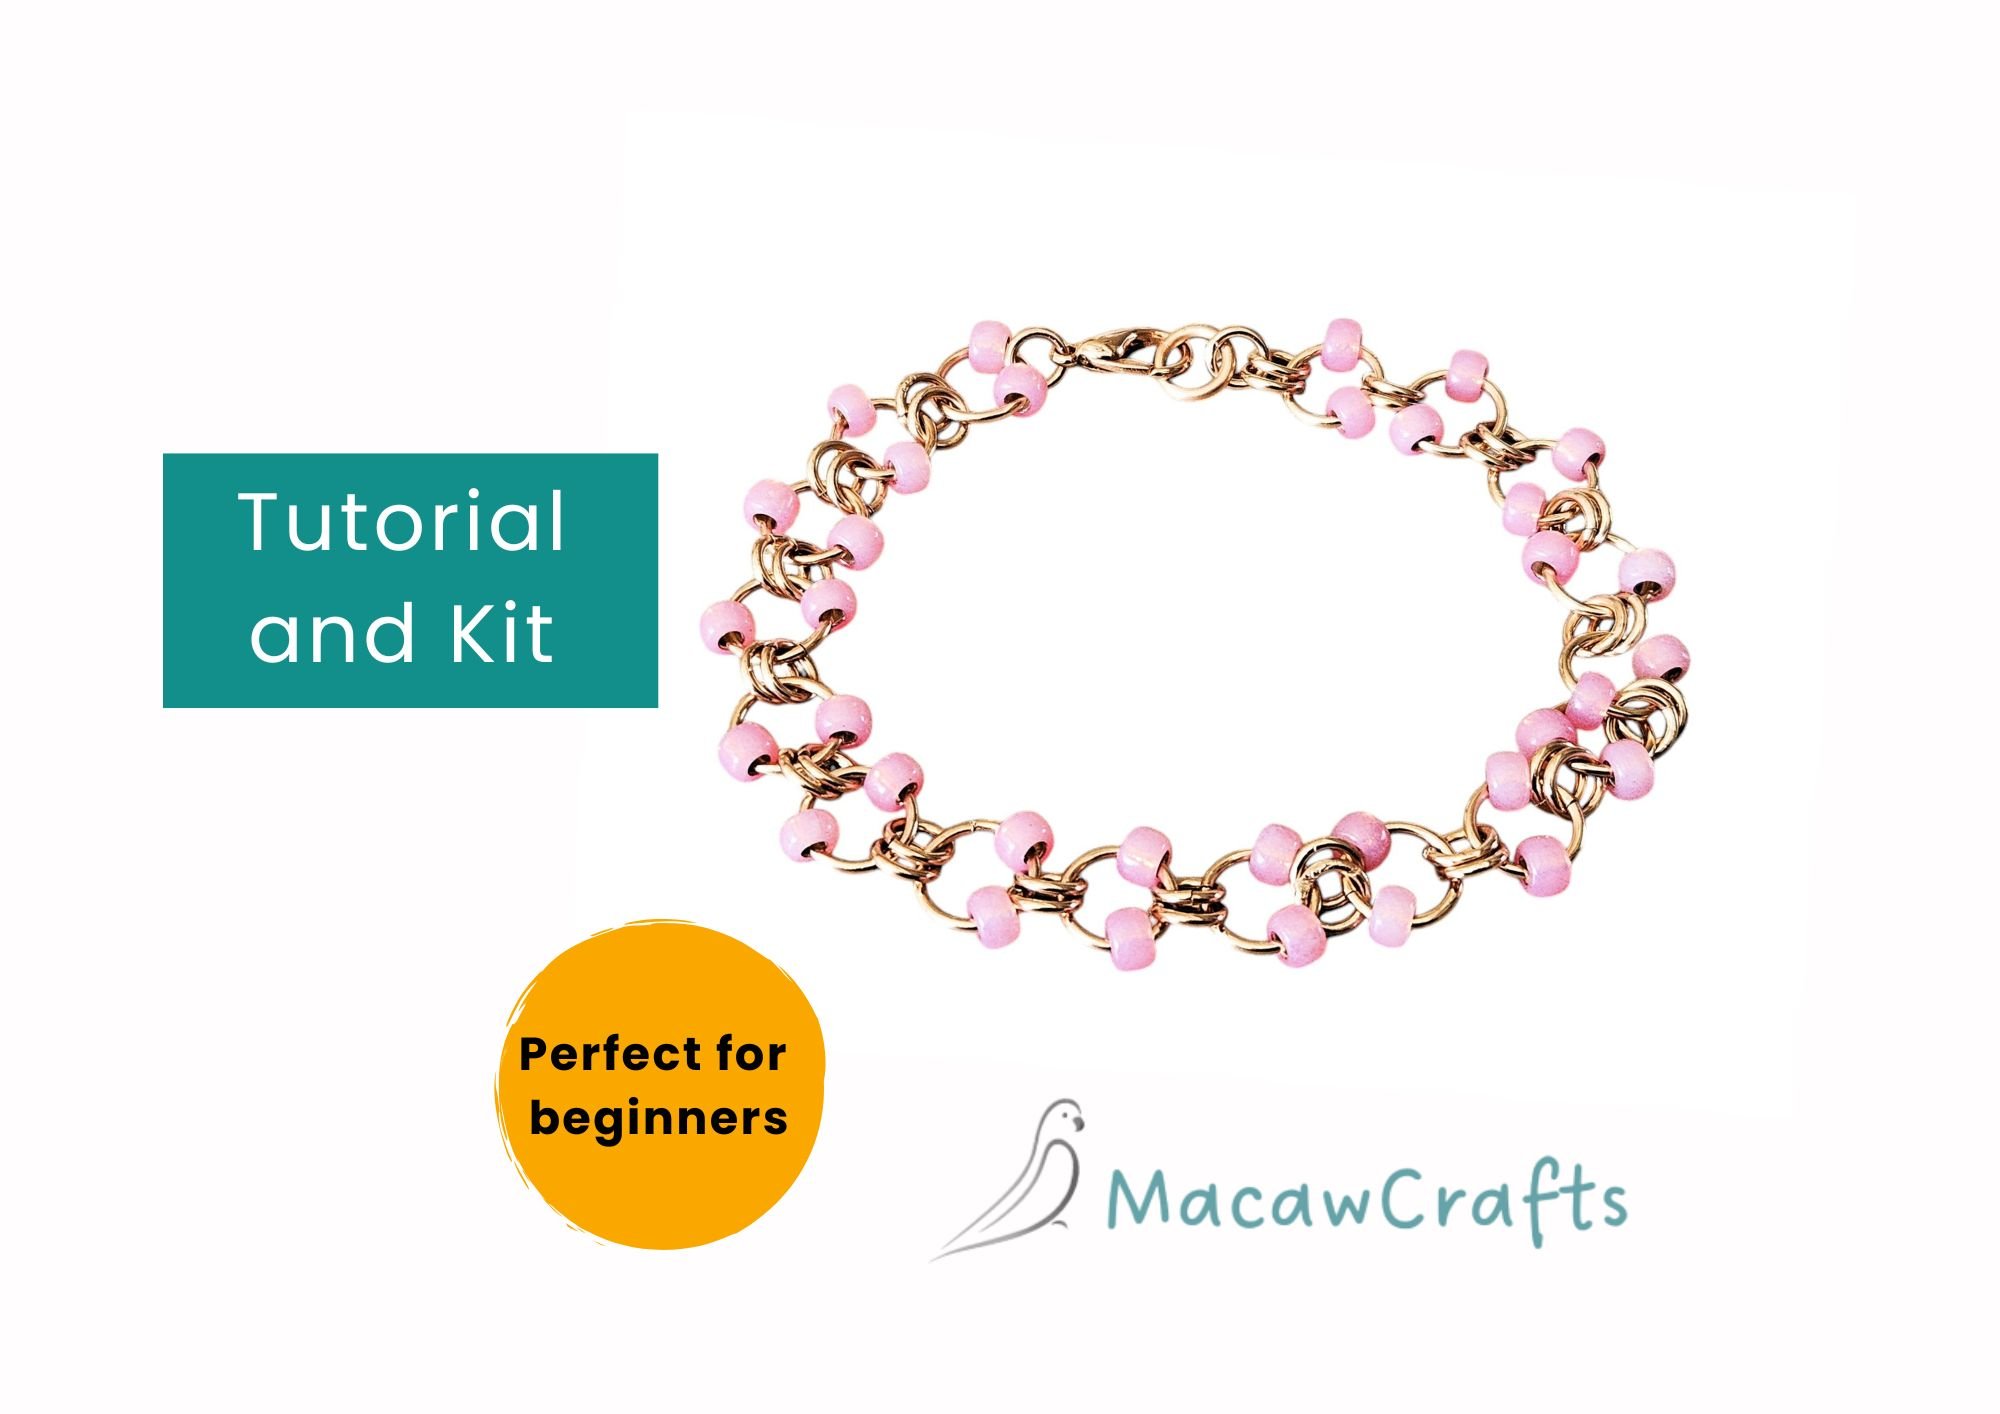
Today's tutorial is for any of you who are still on the fence about whether making chainmail jewellery is for you. It's my easiest tutorial yet - a simple chain bracelet, embellished with seed beads, based on my raindrop earrings.
The tutorial below shows you how to get started.
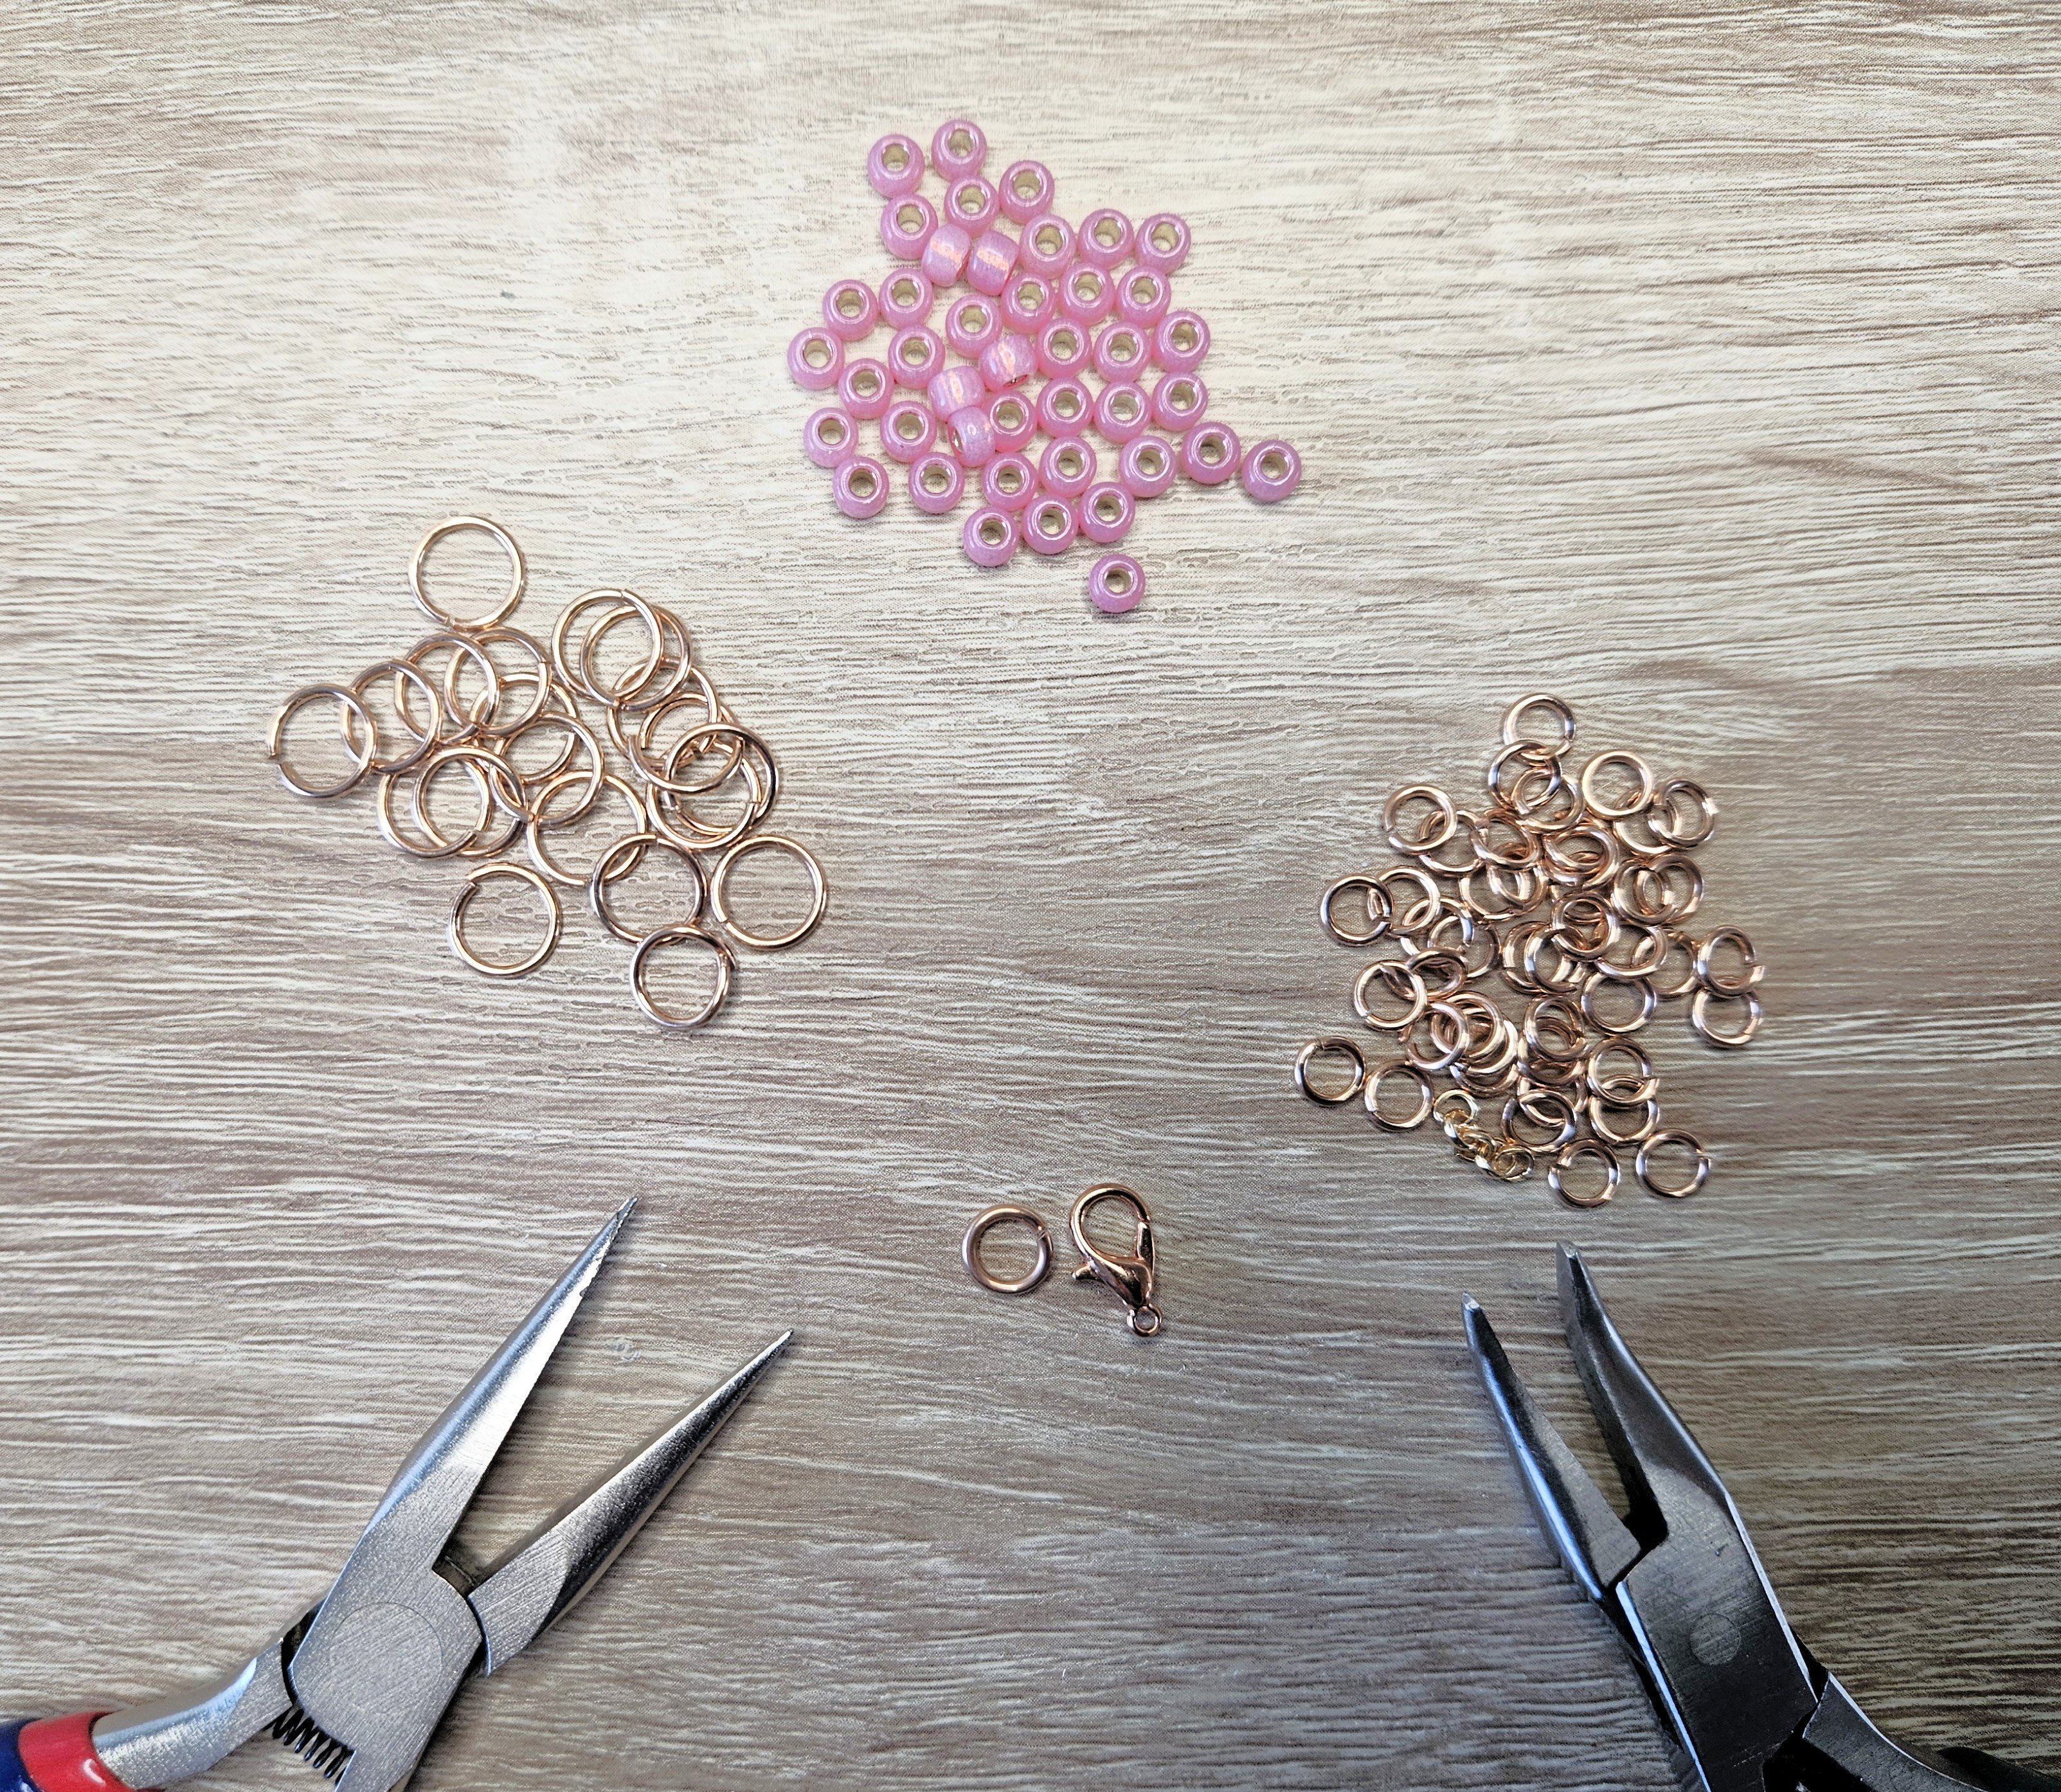
You will need:
- 6.5mm inner diameter jump rings using 1mm thick wire
- 3.5mm inner diameter jump rings using 1mm thick wire
- Size 6 seed beads in your choice of colour
- A clasp and clasp ring (a split ring or thicker jump ring)
- 2 pairs of smooth-jawed jewellery pliers
A note about the jump rings:
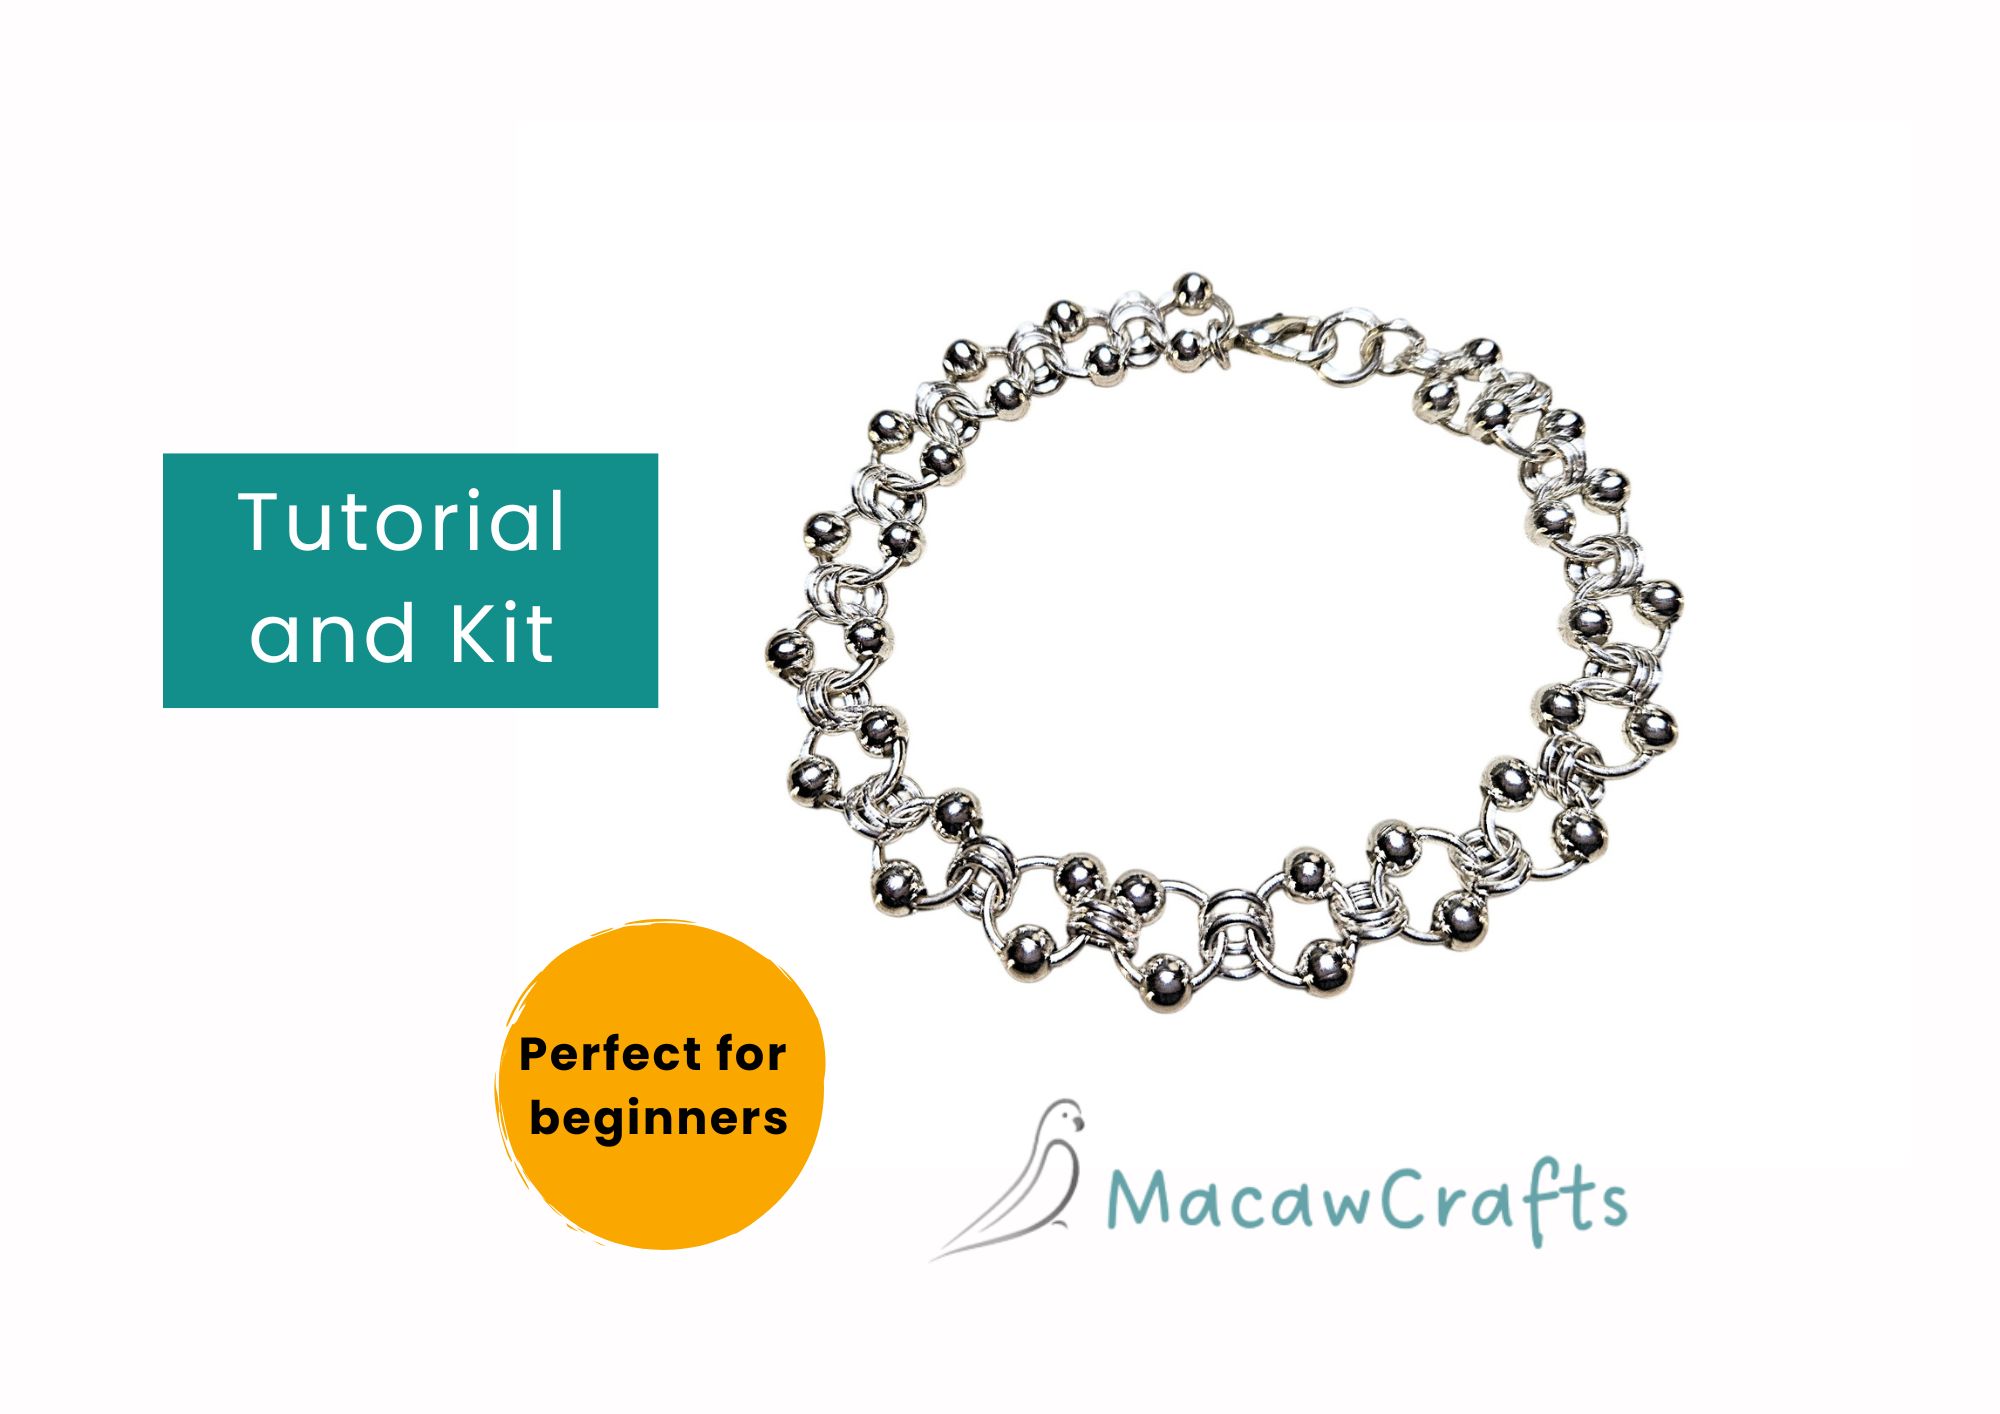
I just used the same sized rings that I used for the matching earrings, but just about any larger ring and smaller ring could work. Just make sure your seed beads have big enough holes for your large rings.
A note about the seed beads:
Good quality beads, such as Toho or Miyuki work best, as they have standardised holes. Cheaper beads have varying sized holes that aren't always big enough for this project.
Simple Chainmail Bracelet with Seed Beads Tutorial
Step 1:
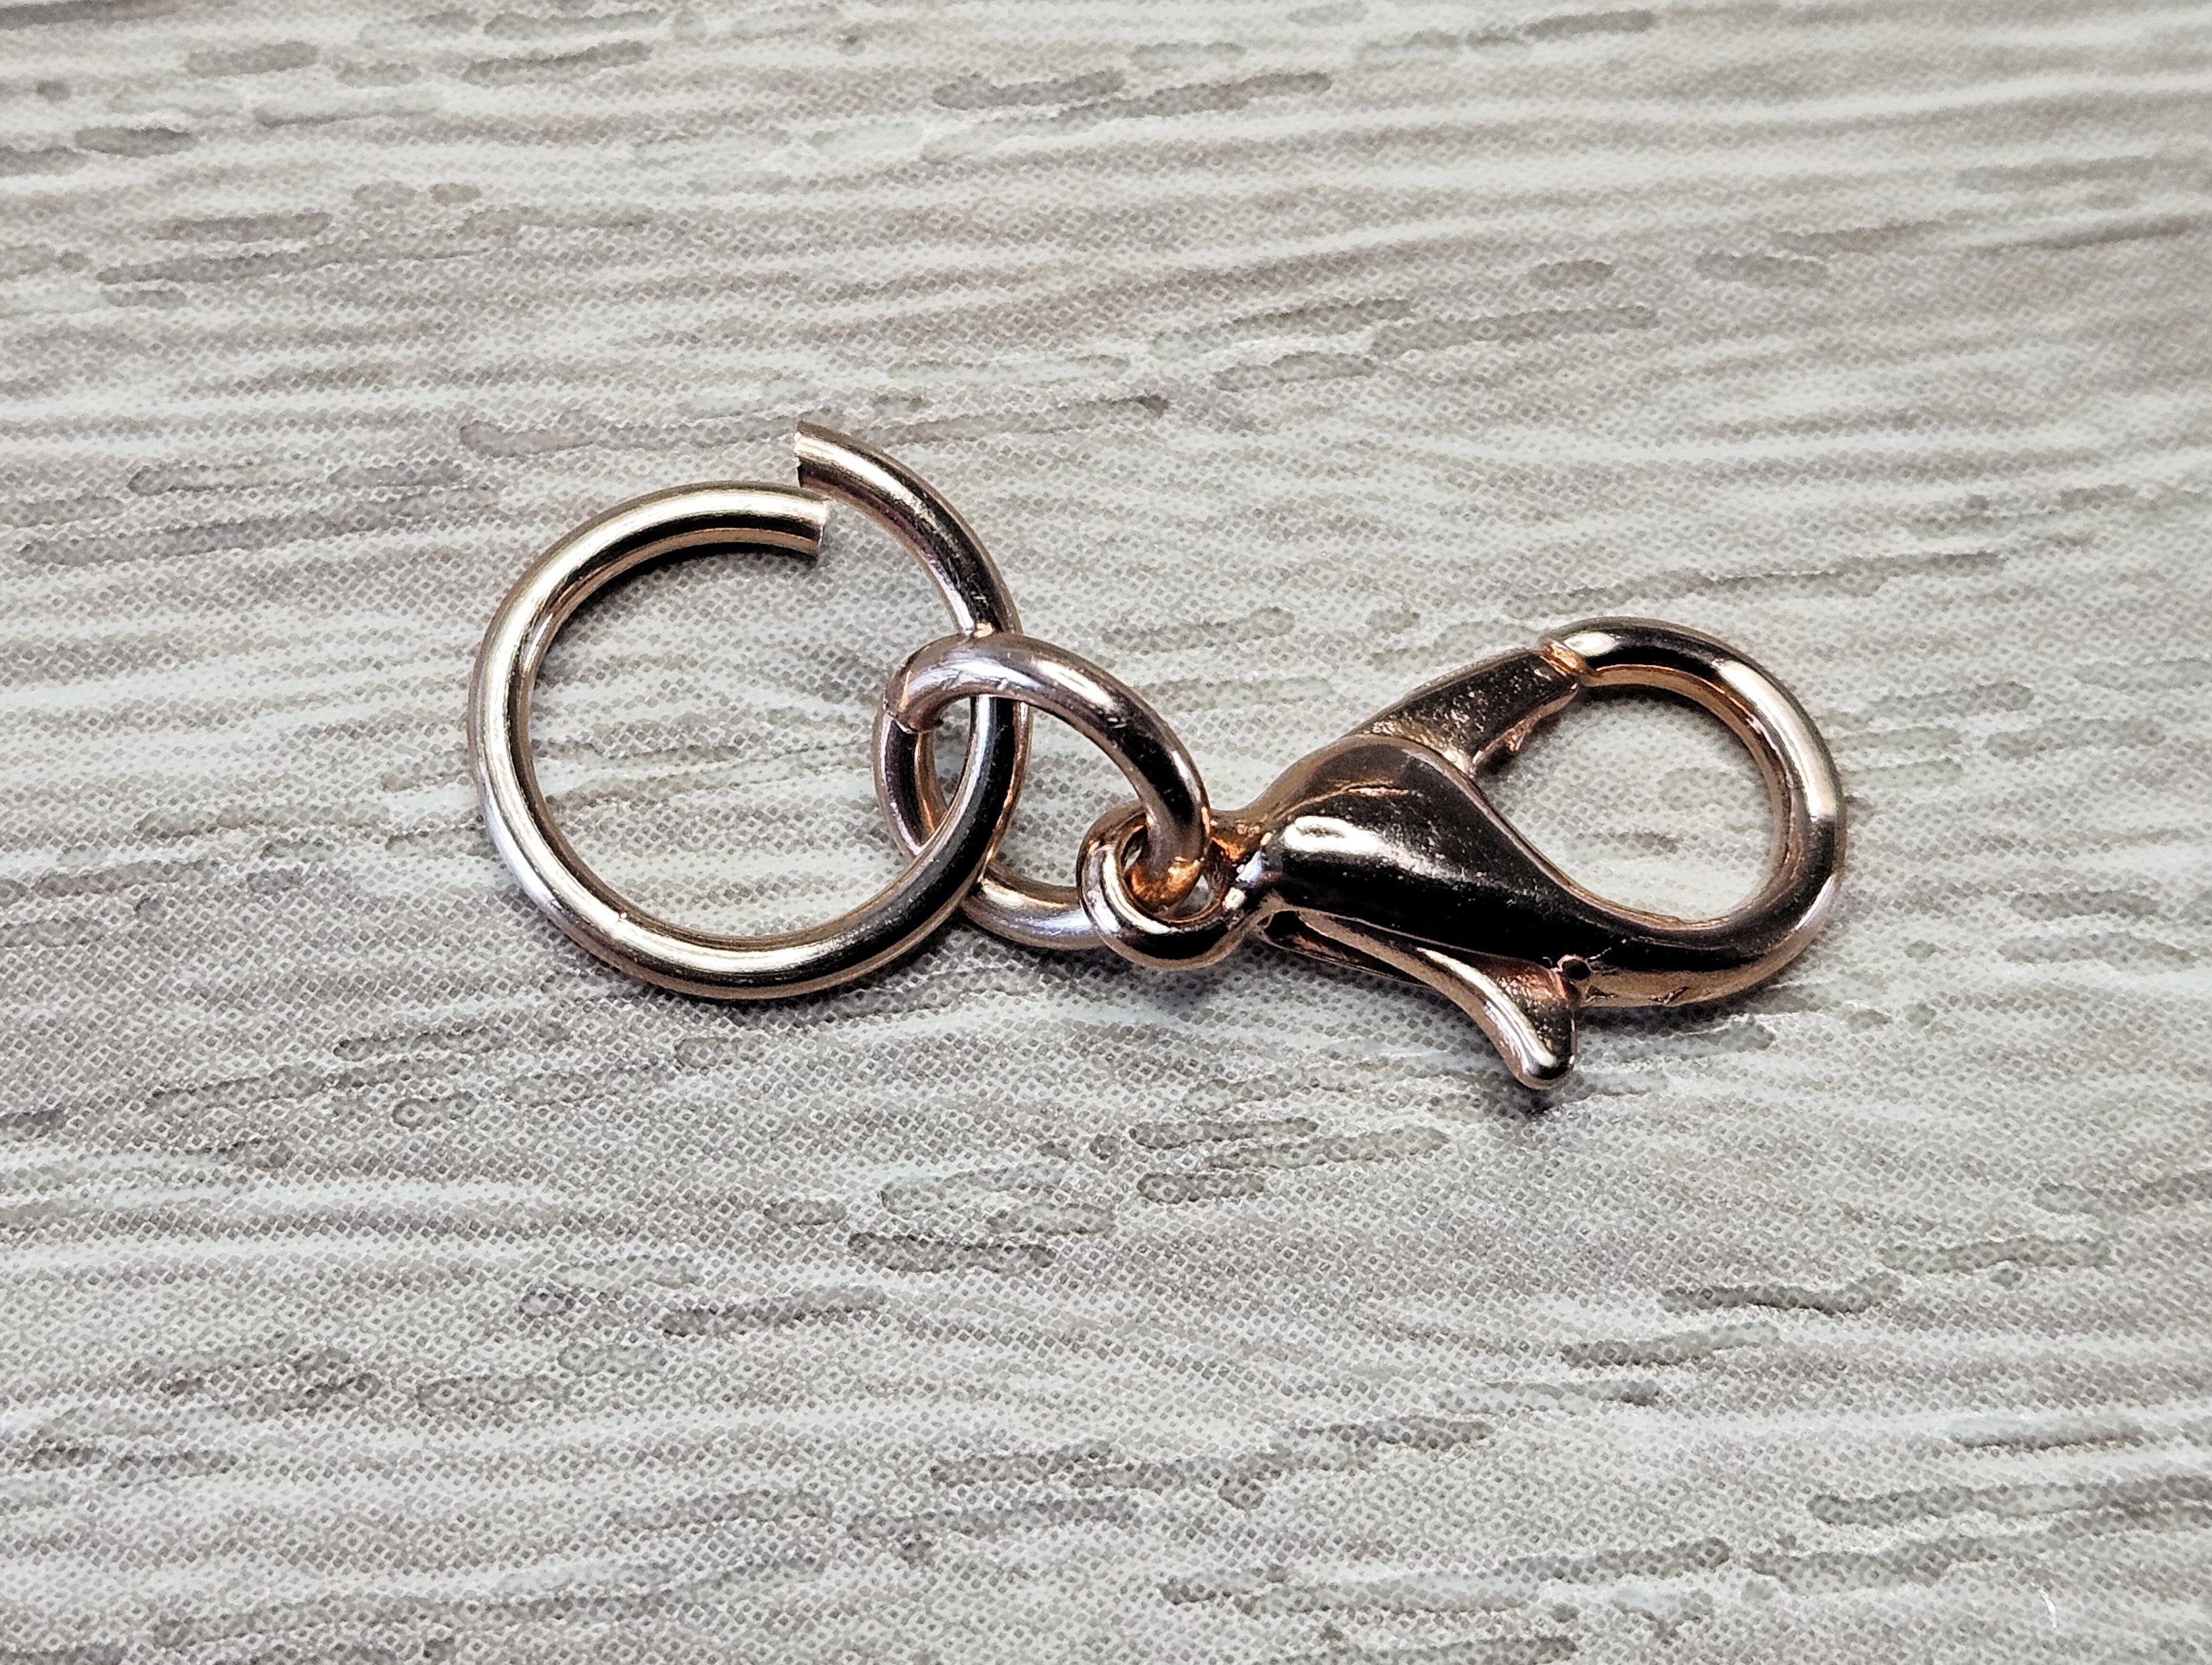
Start by opening a small ring, pushing it through the hole in the clasp, then closing. Open a large ring and loop it through the small ring. Leave this one open for now.
If you're new to this, or need a refresher, check out my short video on how to open and close jump rings here.
Step 2:
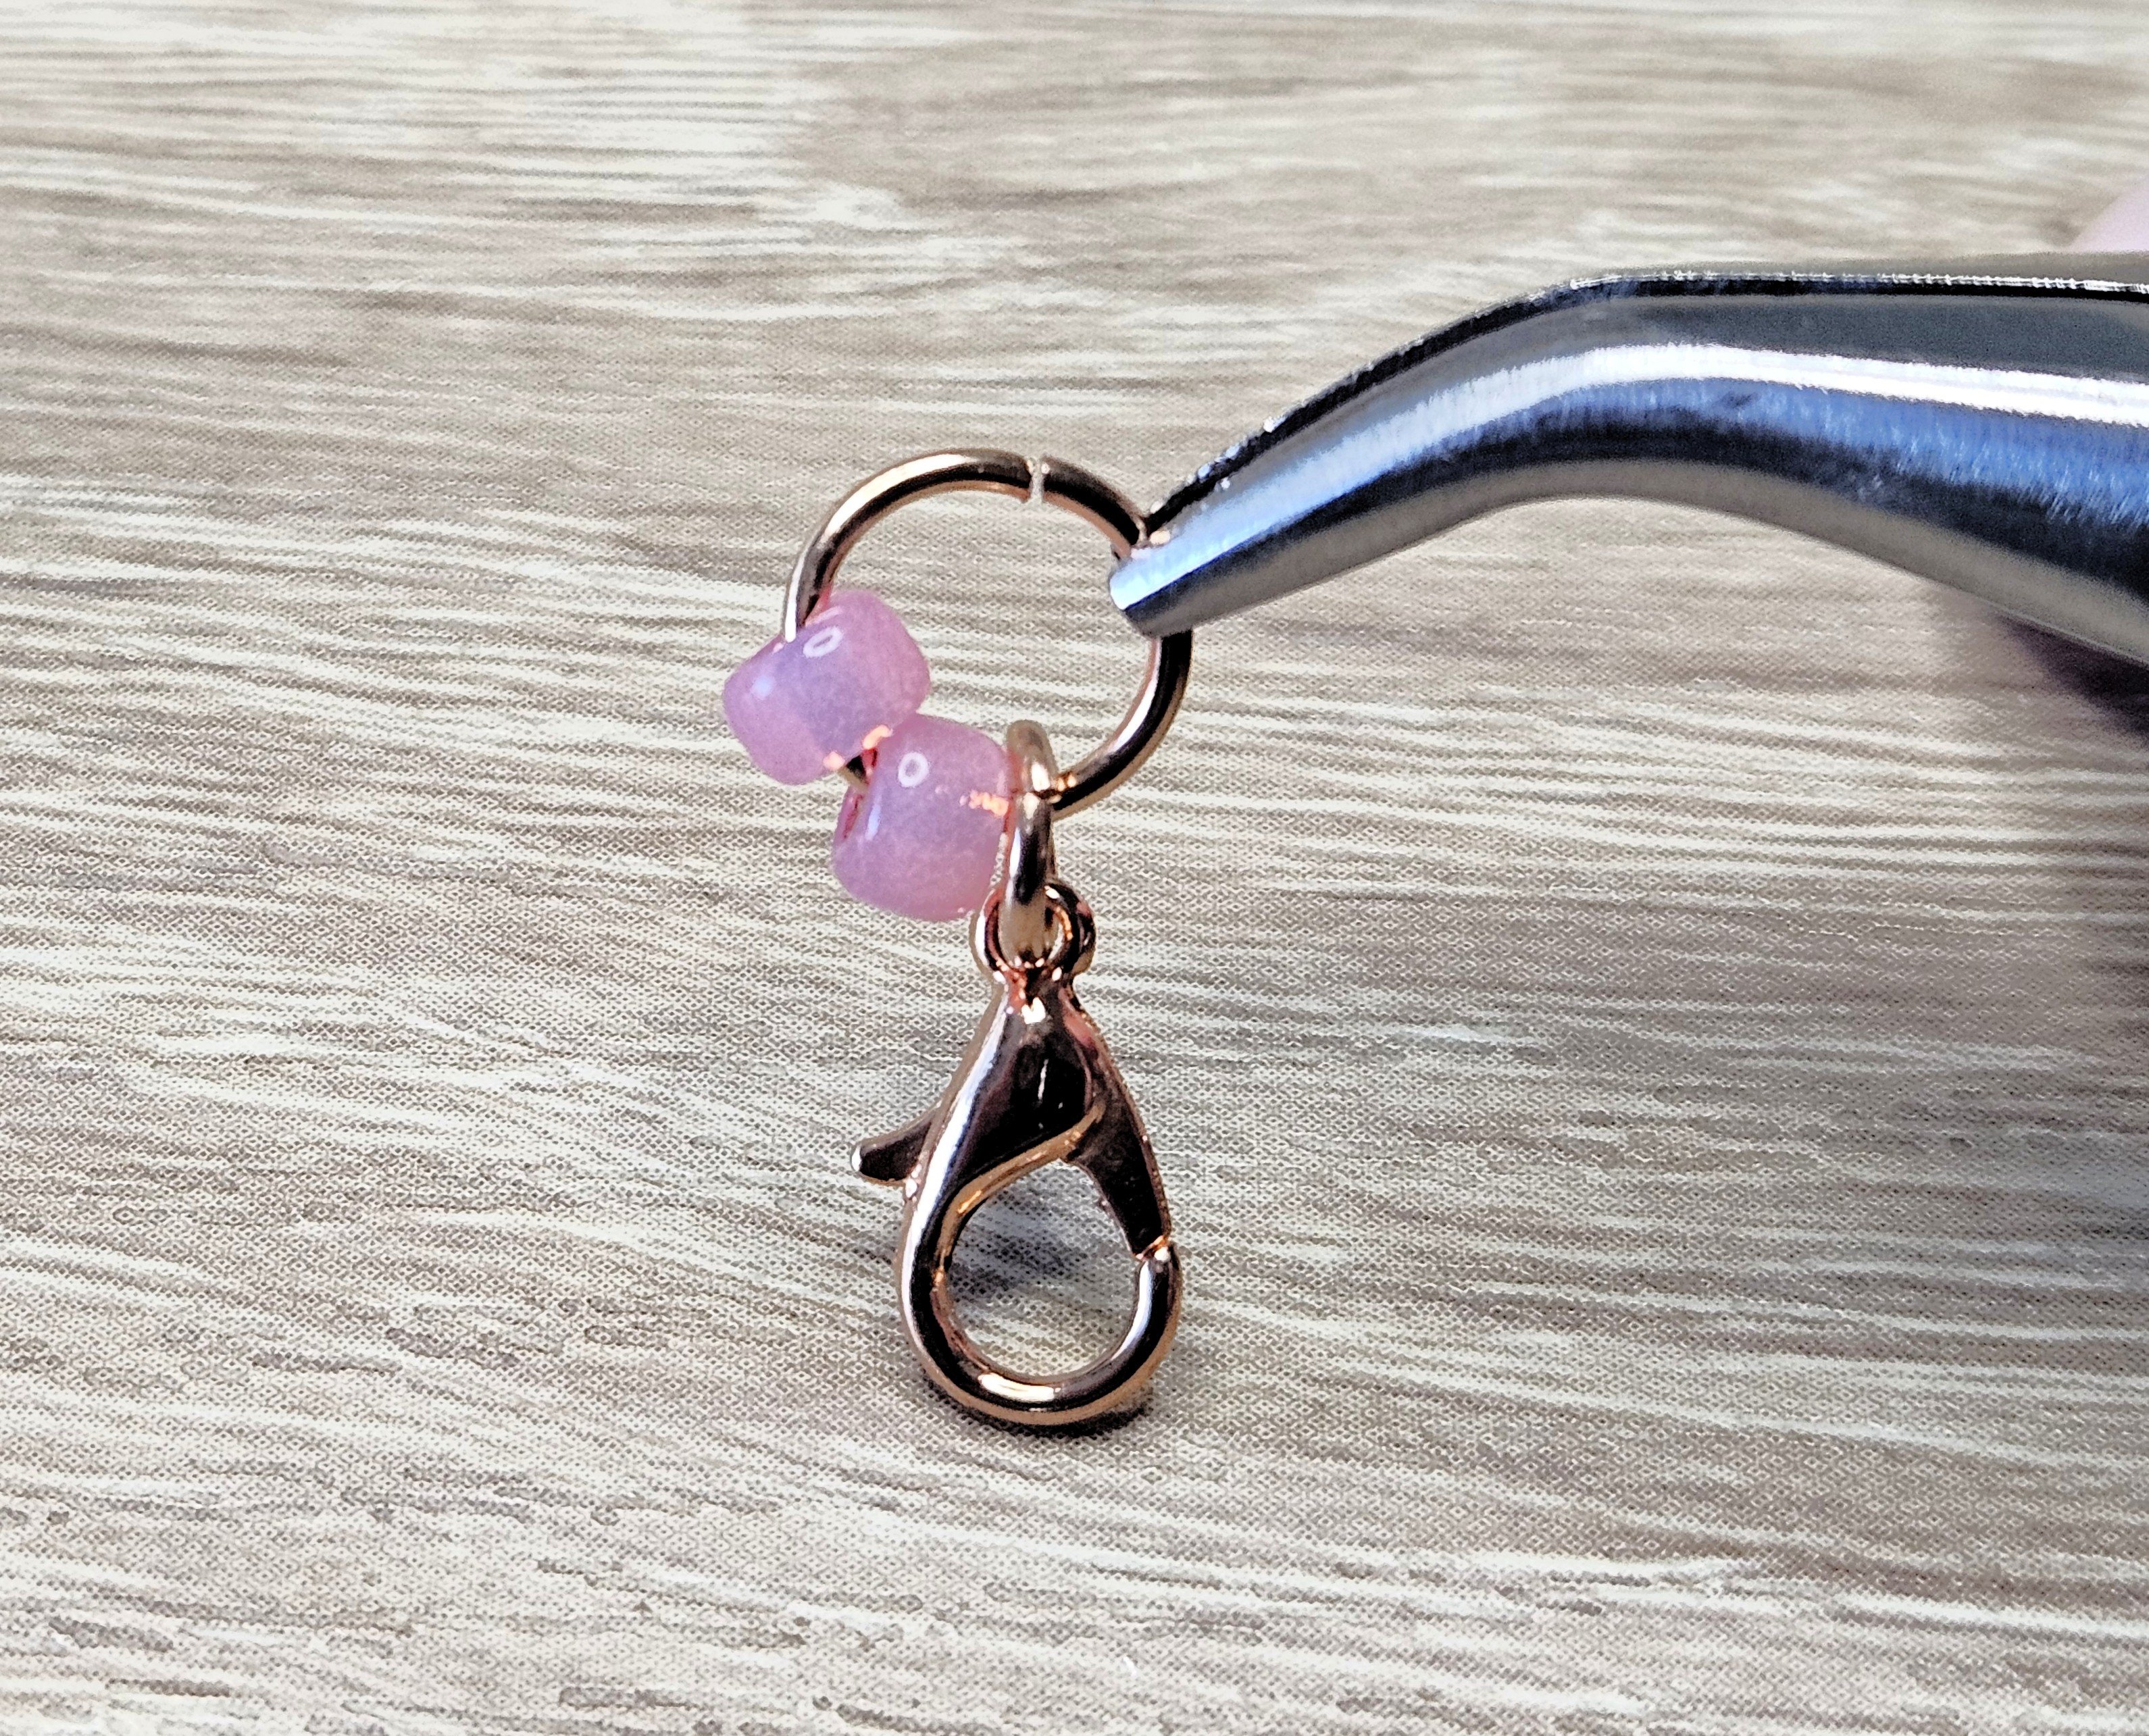
Take two seed beads and thread them through the large ring. Now close the ring.
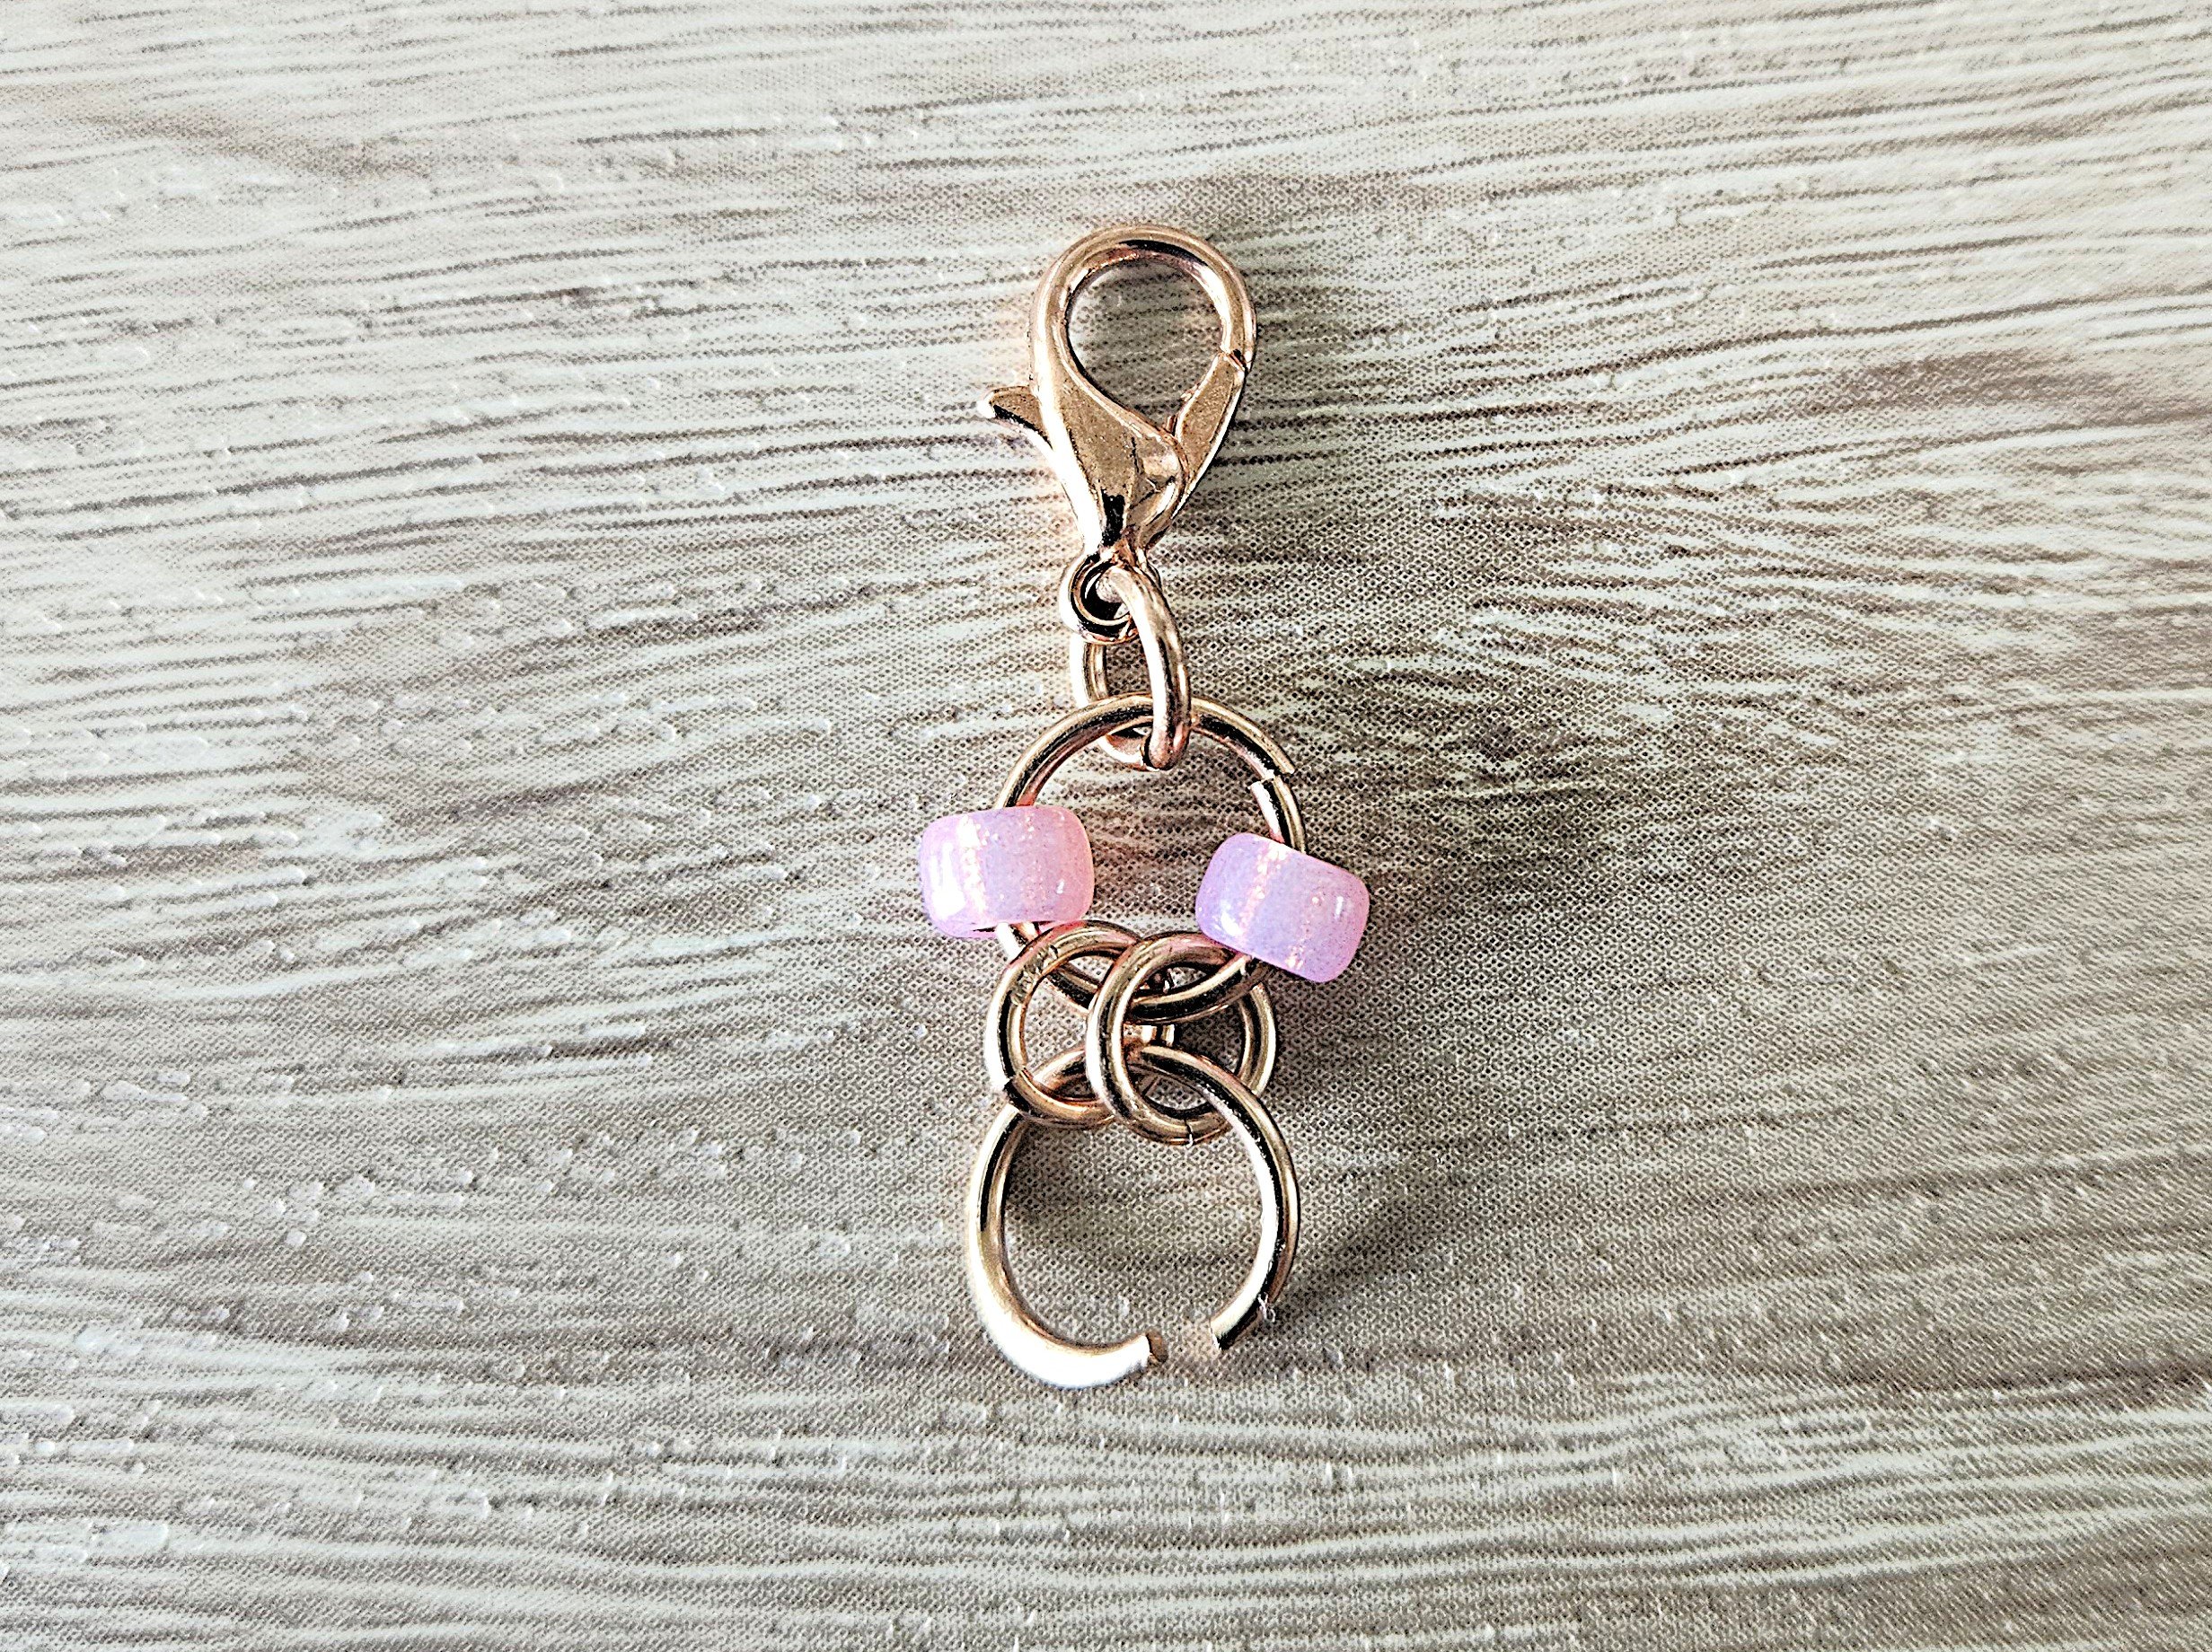
Step 3:
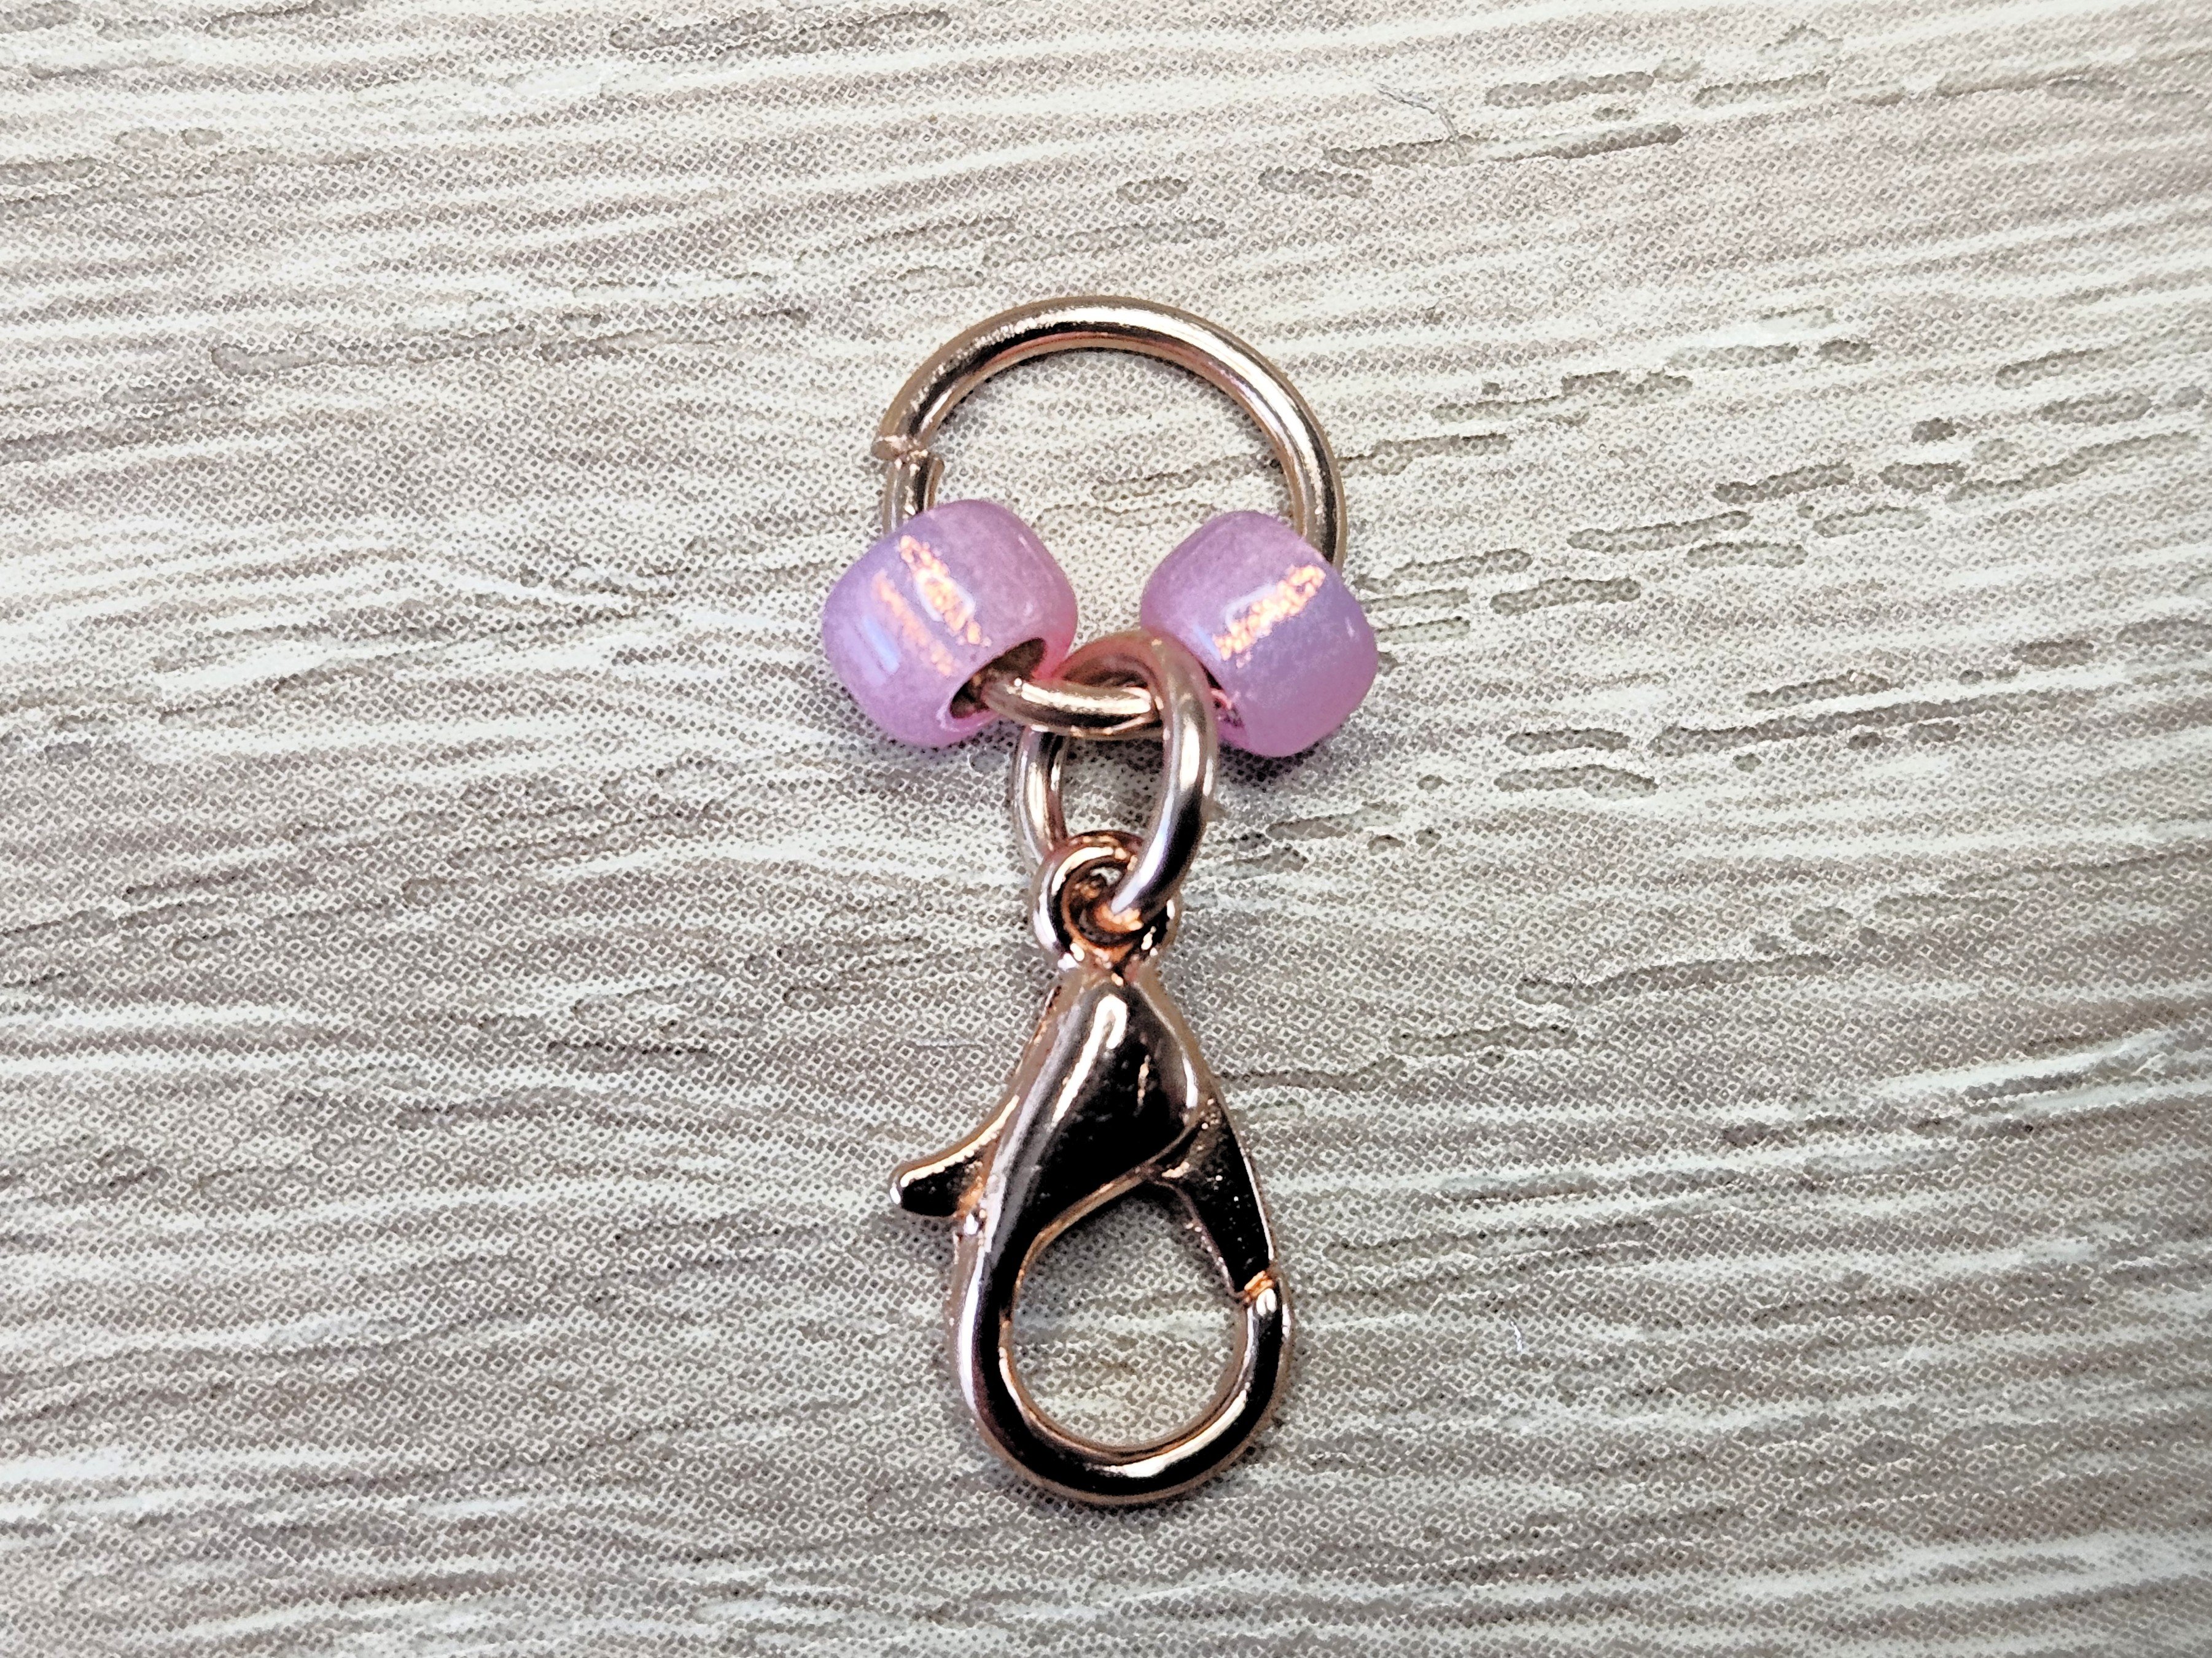
Push one of the seed beads over to the other side of the large ring, as seen in the pic above.
Step 4:
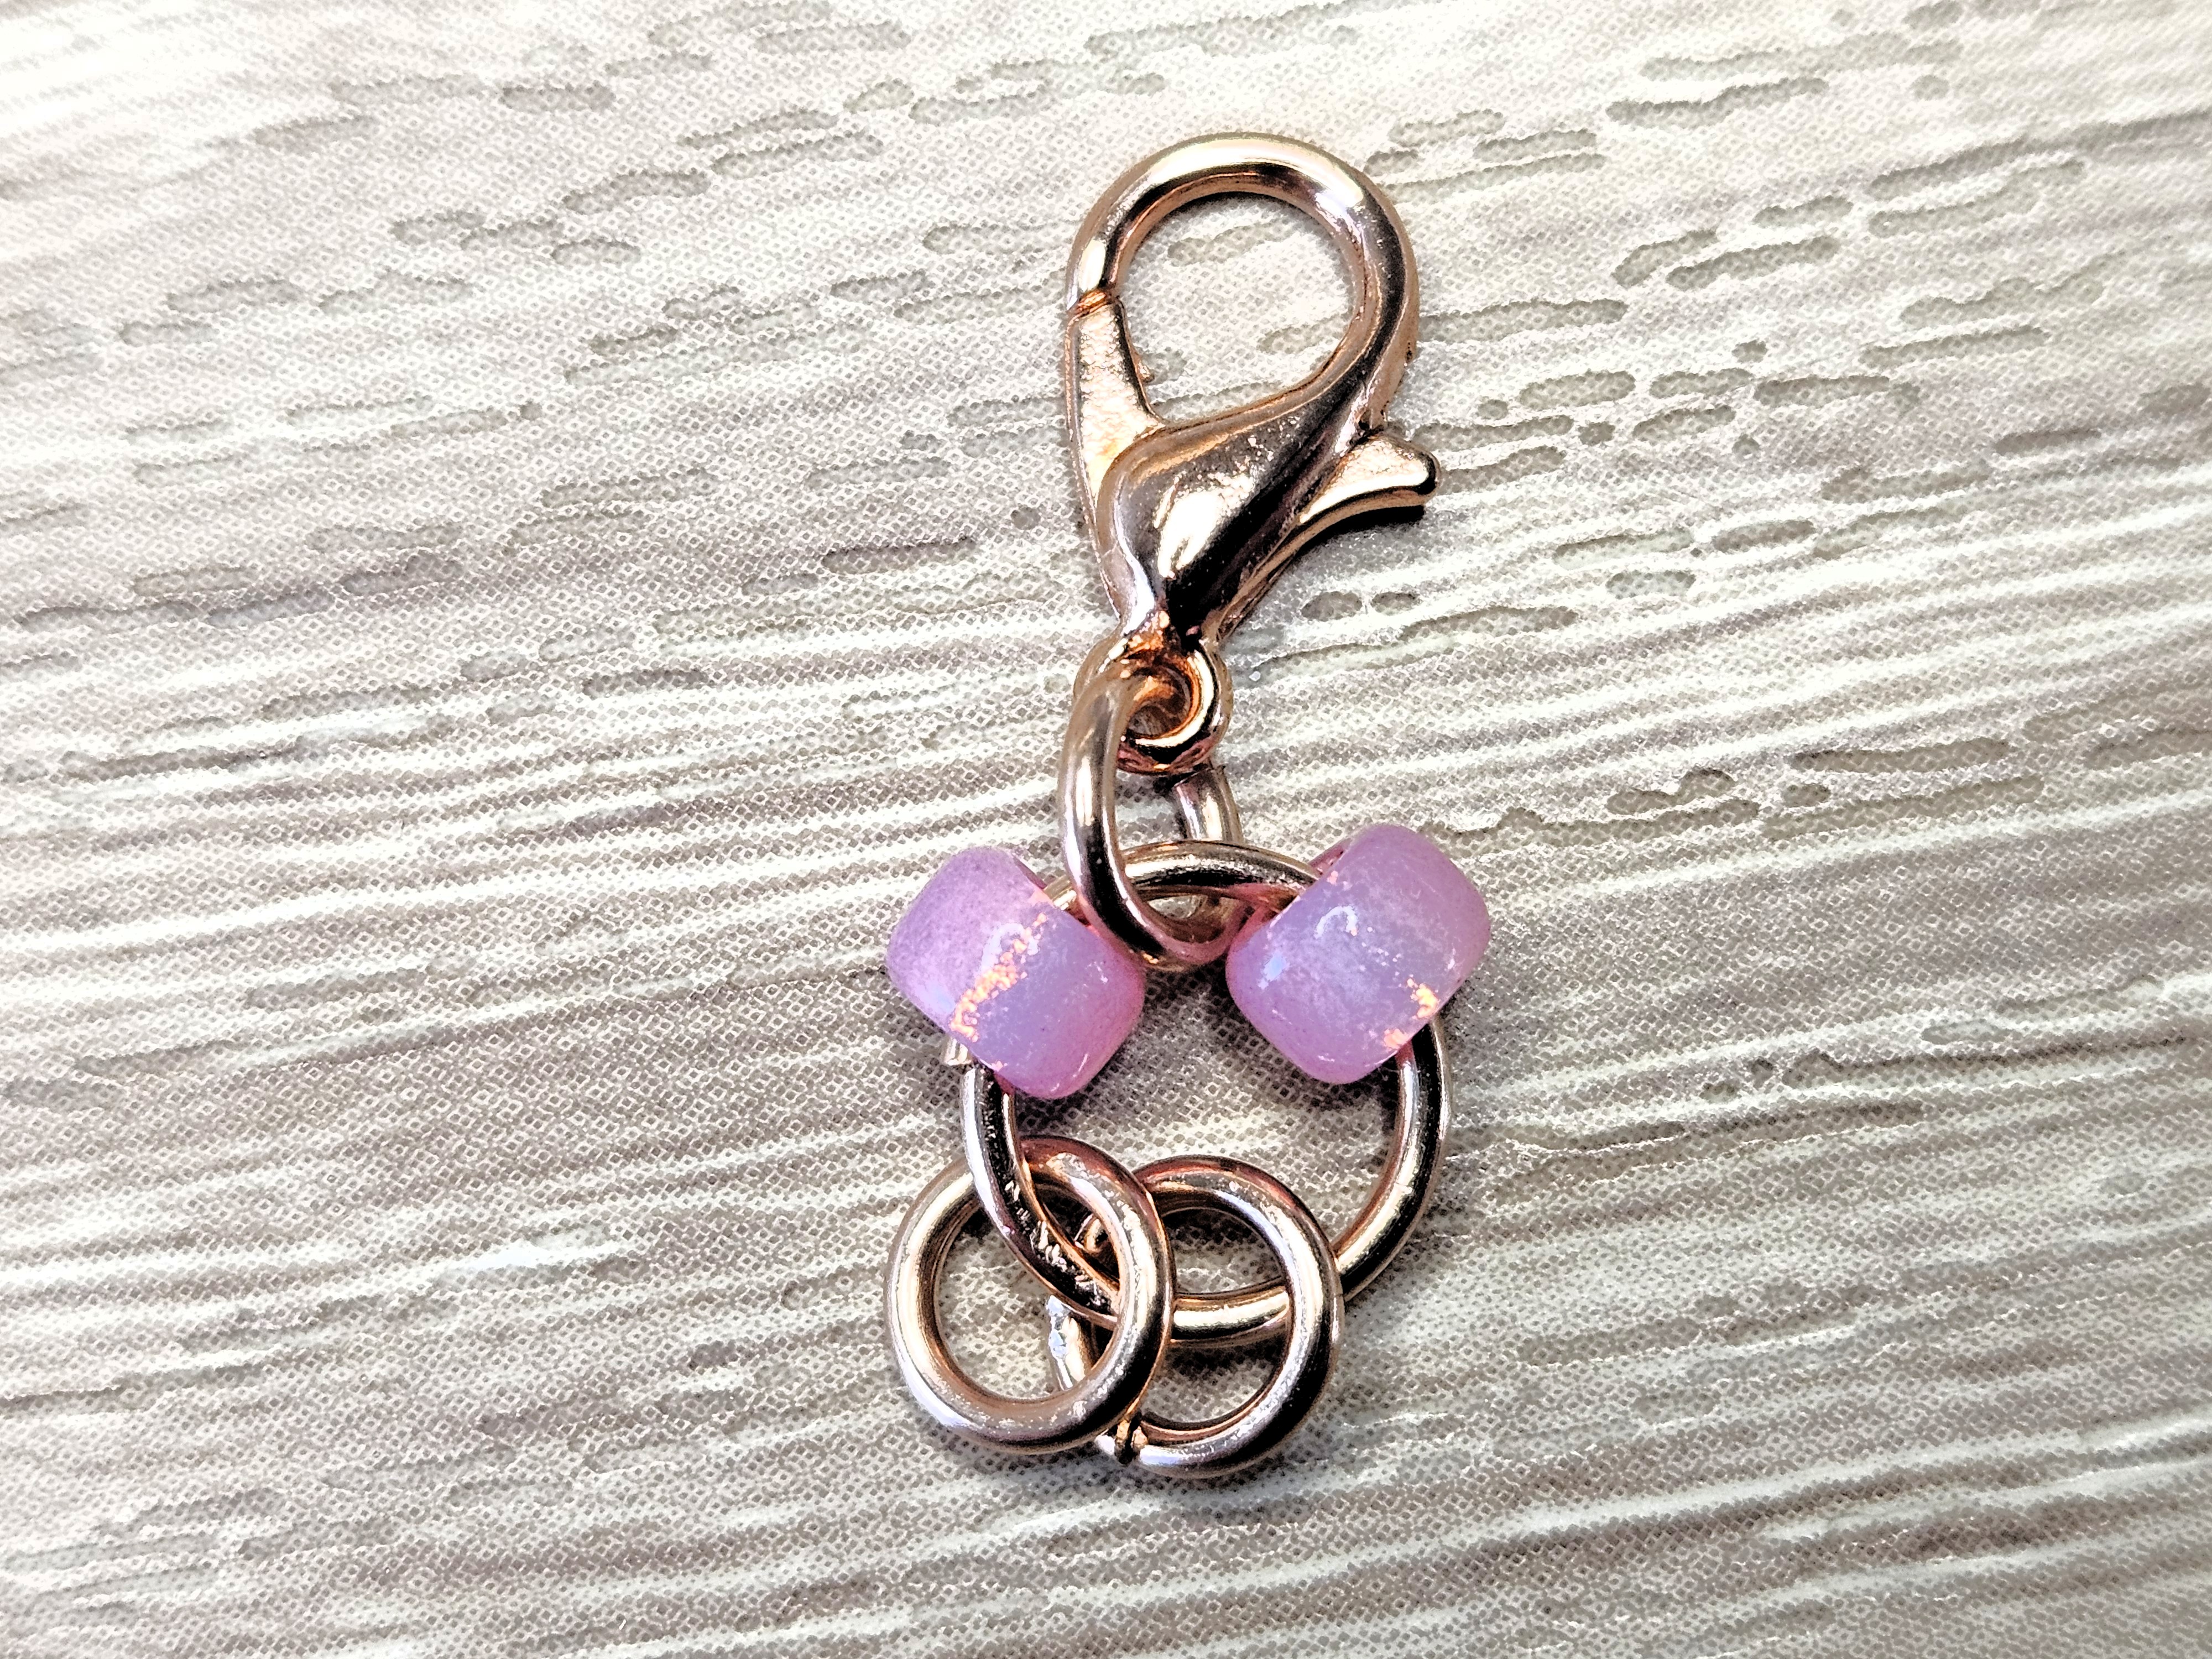
Now add two small rings to the large ring so that they are between the seed beads. Make sure the small rings don't go through each other, but lie side by side.
Step 5:
Open a large ring and loop it through both small rings. Go back to step 2 to continue your bracelet until you have it at the length you want. Finish it off with the clasp ring.
Want to get started straight away? I have kits ready to post, or you can message me on Etsy to request beads in a different colour. Click the pics below to go straight to the kits.